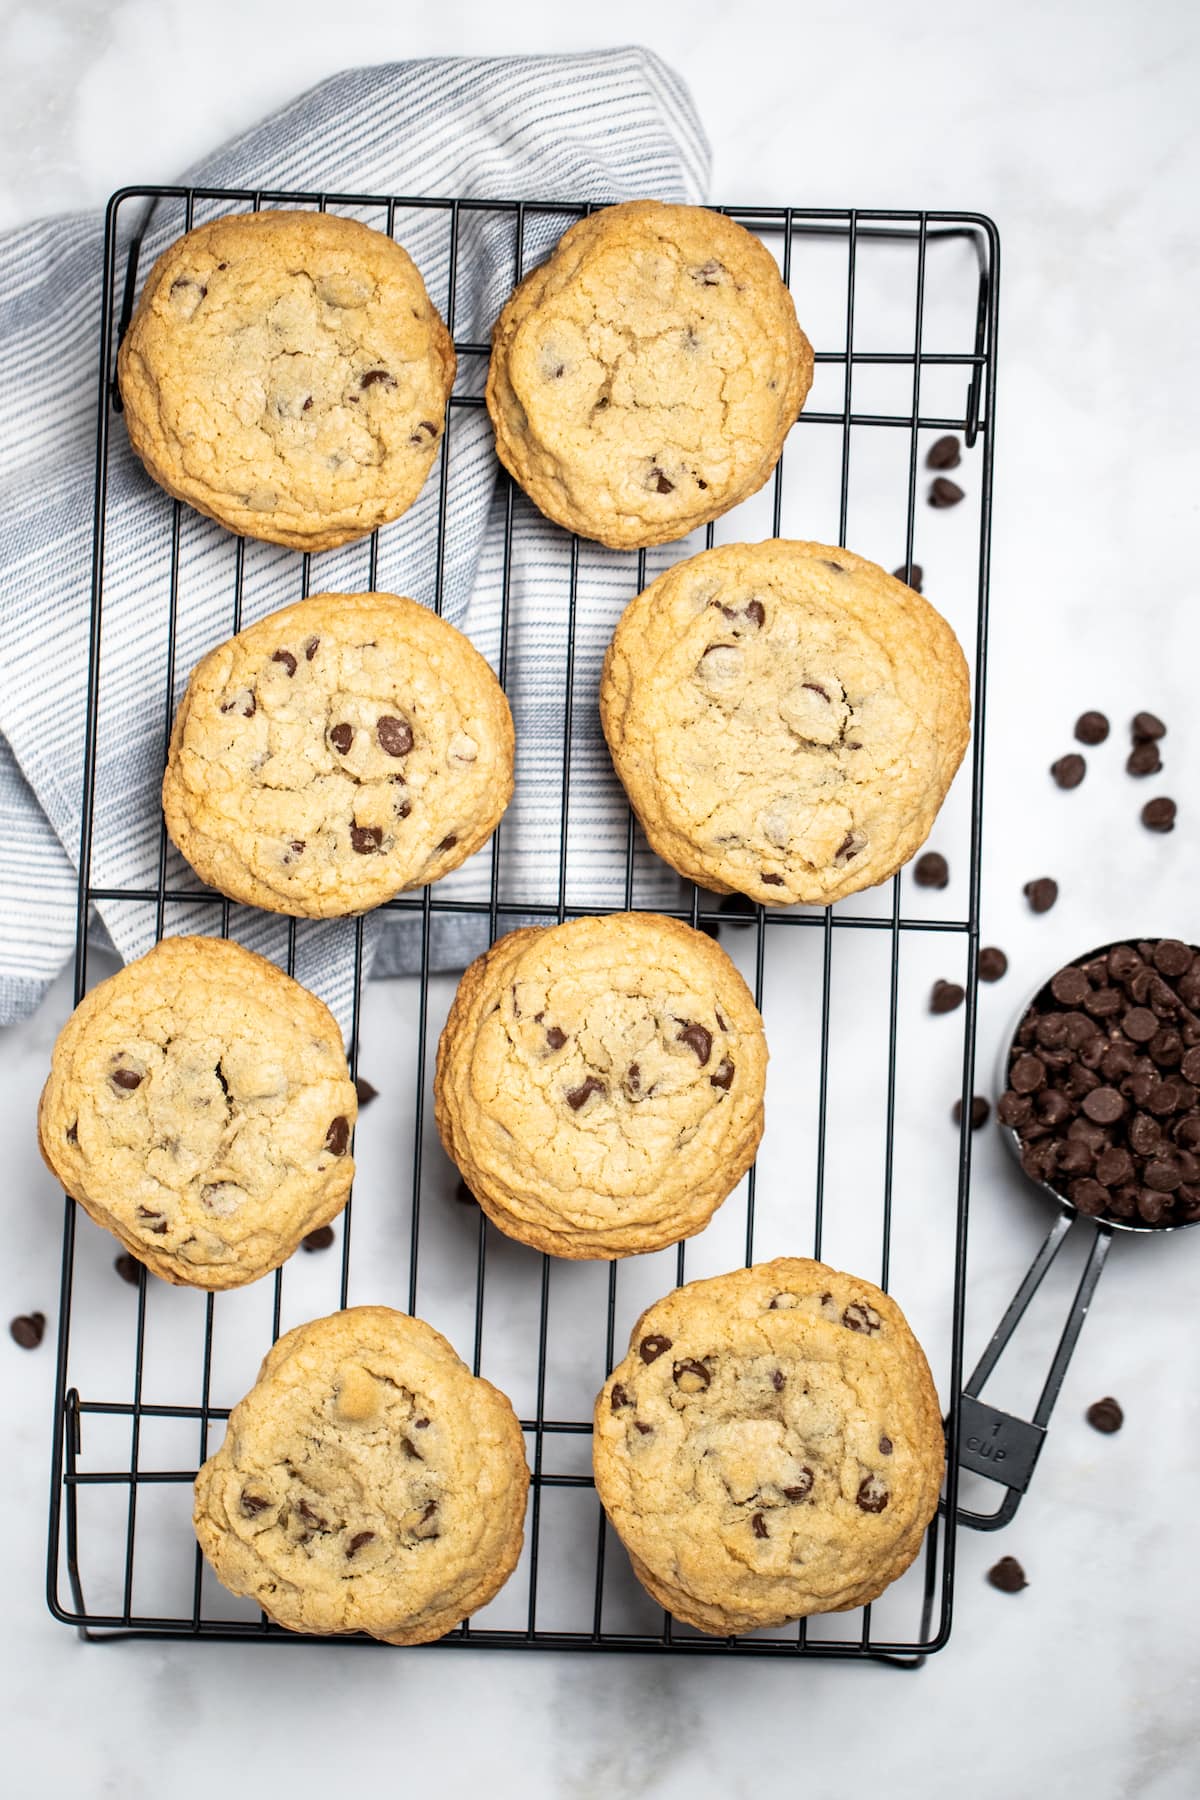
Chewy Gluten Free Chocolate Chip Cookies

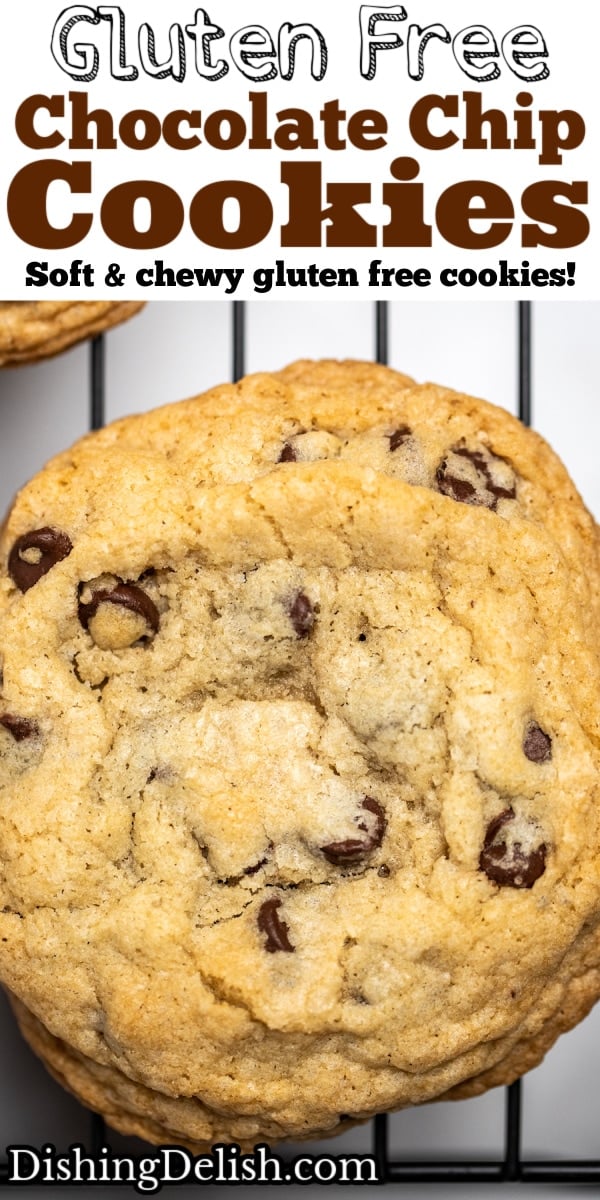

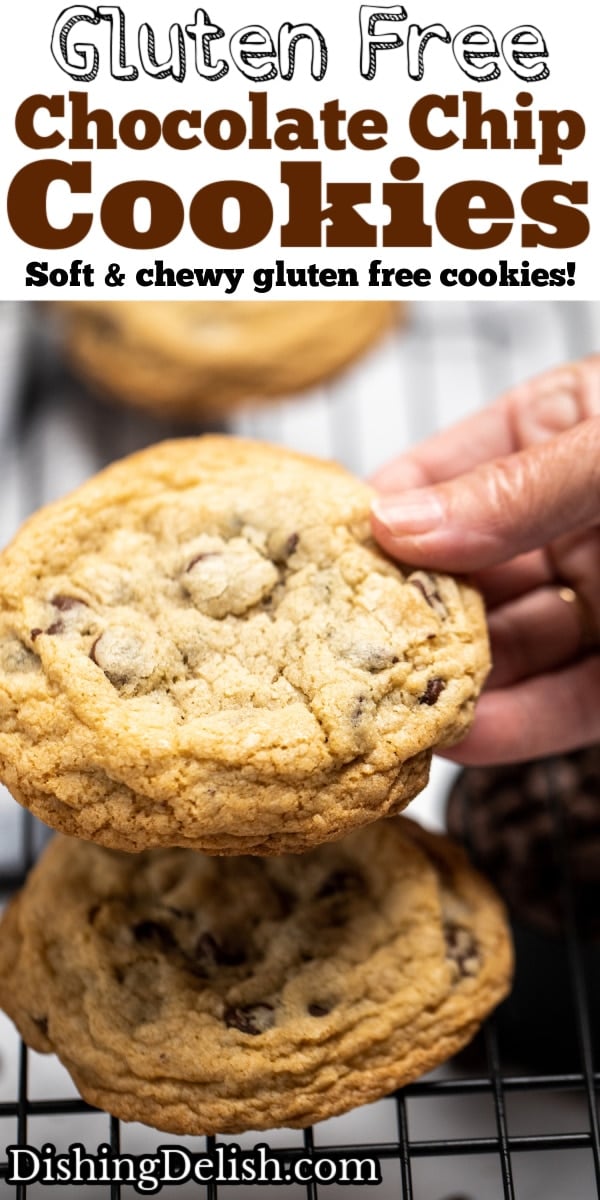
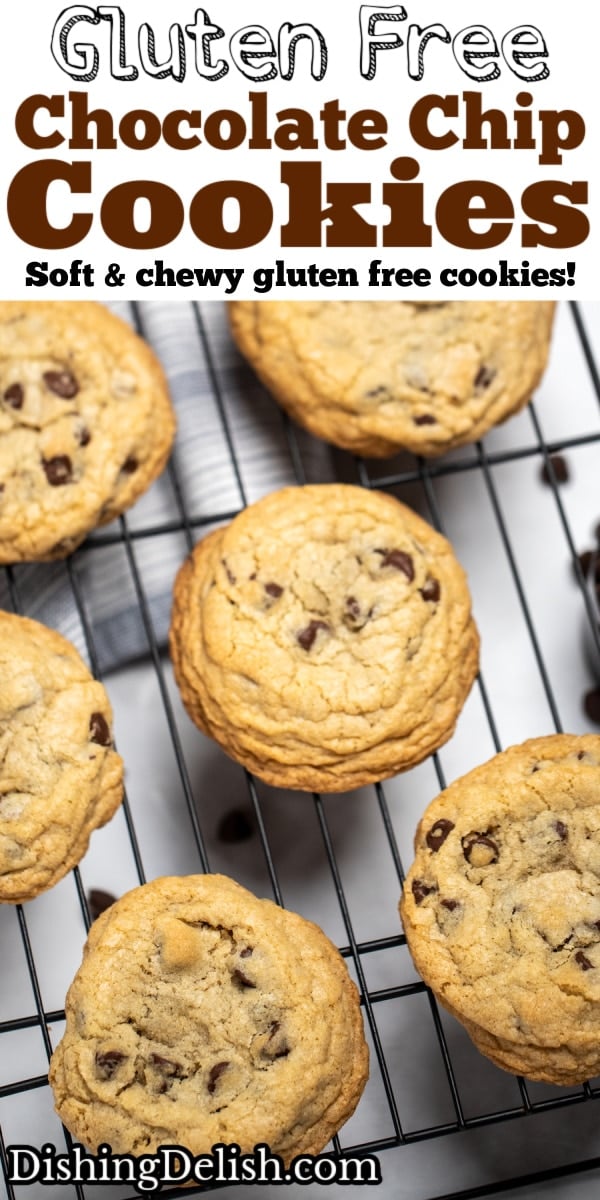
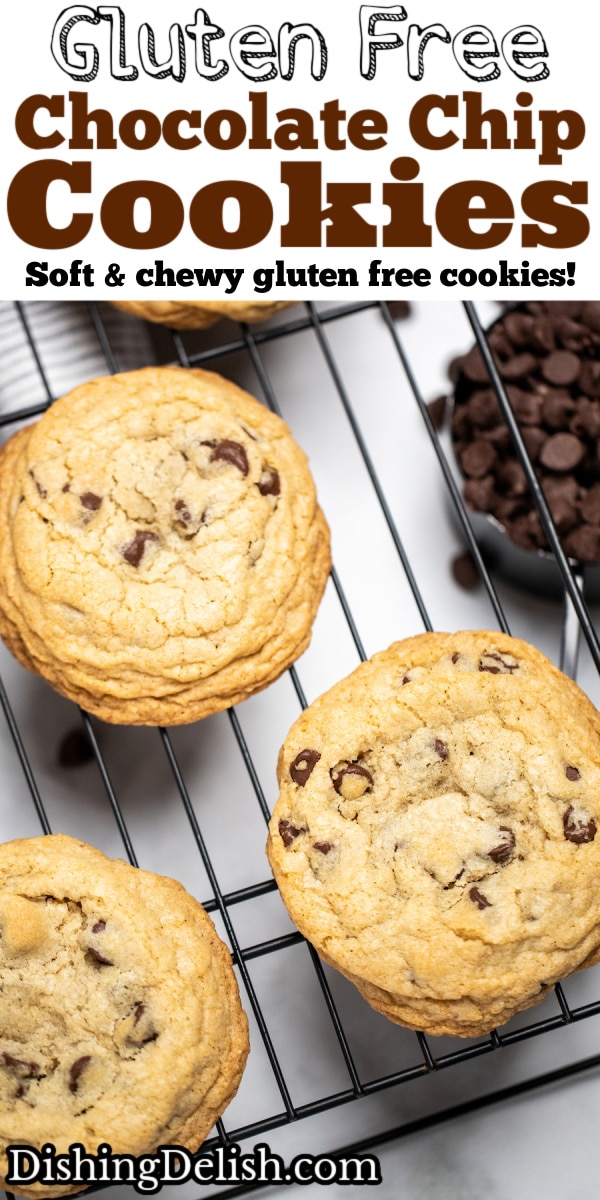
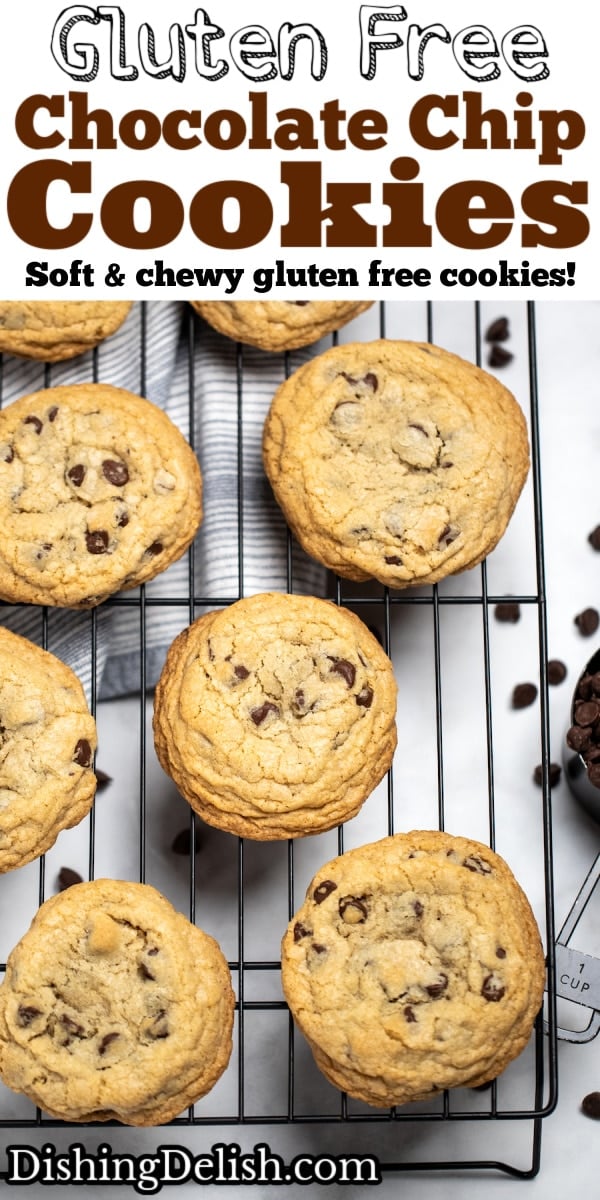
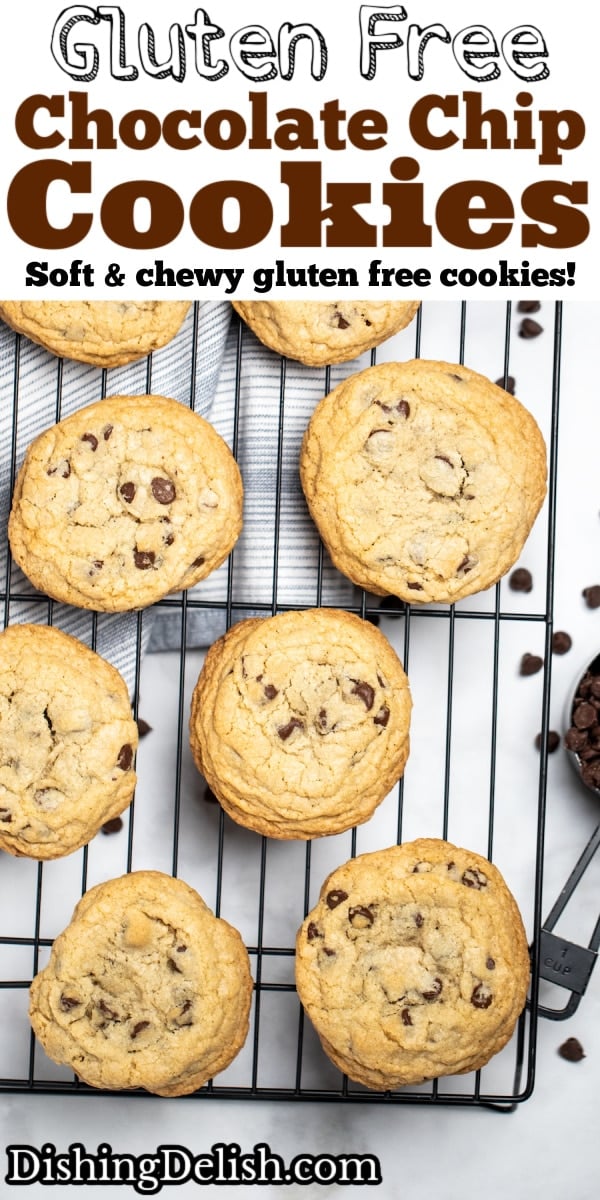
Chewy Gluten Free Chocolate Chip Cookies are soft and chewy, made with gooey chocolate chips, brown sugar, and cup-for-cup gluten free all purpose flour, ready in less than 50 minutes!
It’s cookie season all year long in my house. If you want some more gluten free cookie recipes, check out these really popular Chewy Almond Paste Cookies and Gluten Free Oatmeal Raisin Cookies.
Chewy Gluten Free Chocolate Chip Cookies are my go-to cookie recipe any time my family asks for something sweet, or when the holidays are here. Nobody knows they’re gluten free unless I tell them, so they’re also perfect for potlucks!
You can also use this recipe as a base, and swap out the chocolate chips for mint chips, butterscotch chips, white chocolate chips, or any other gluten free add-in you can think of! This will be one of your new favorite chocolate chip cookie recipes.
Ingredients You’ll Need
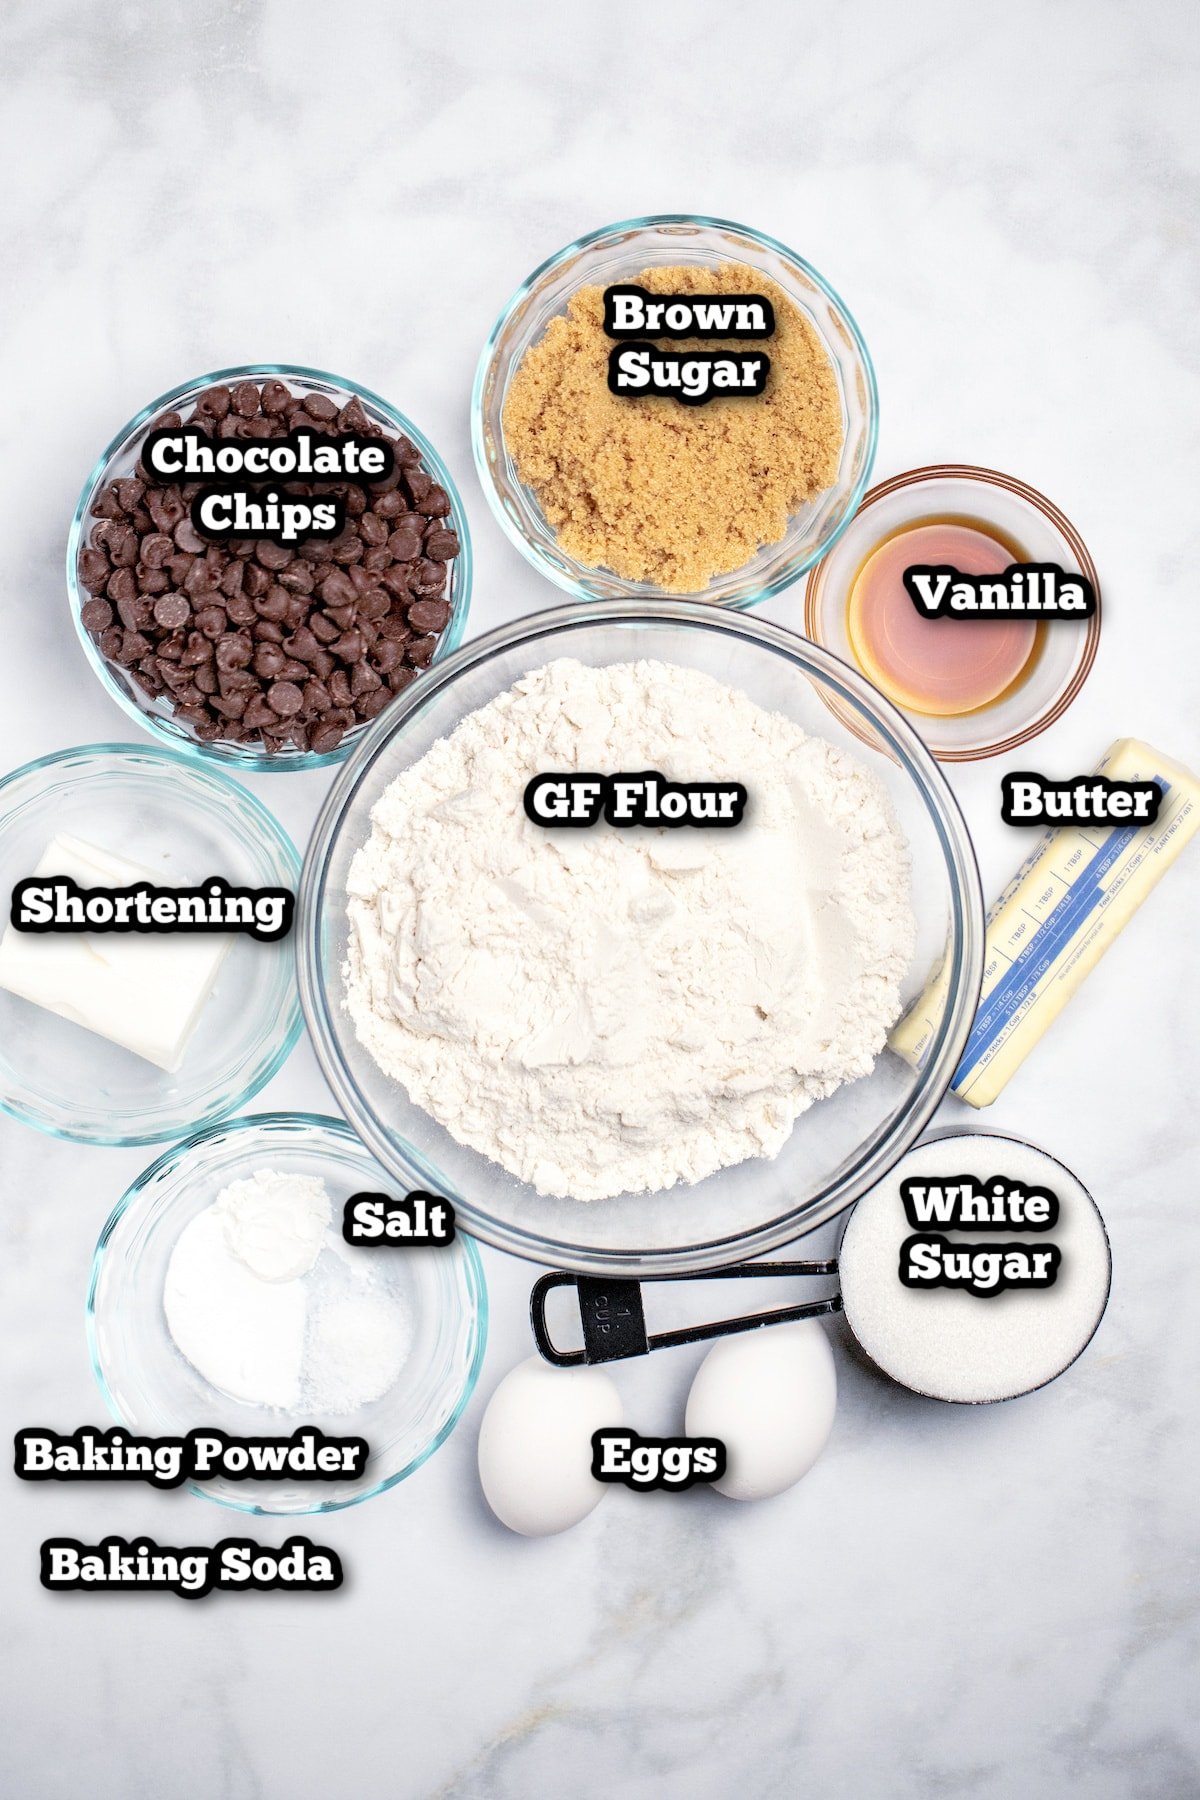
Gluten Free All Purpose Flour. I always use a cup-for-cup gluten free flour blend. Try to stick with a brand you trust. Gluten free flour blends can vary pretty drastically which affects the flavor and texture in gluten free baking.
If your blend is consistently making crumbly cookies, try adding a small amount of xanthan gum.
Bob’s Red Mill Cup-for-Cup and King Arthur Measure-for-Measure gluten free flour blends both already contain xanthan gum, and these are the two I usually use.
Because I use 1-to-1 flour, you can also make this recipe with regular flour if you’re not gluten free.
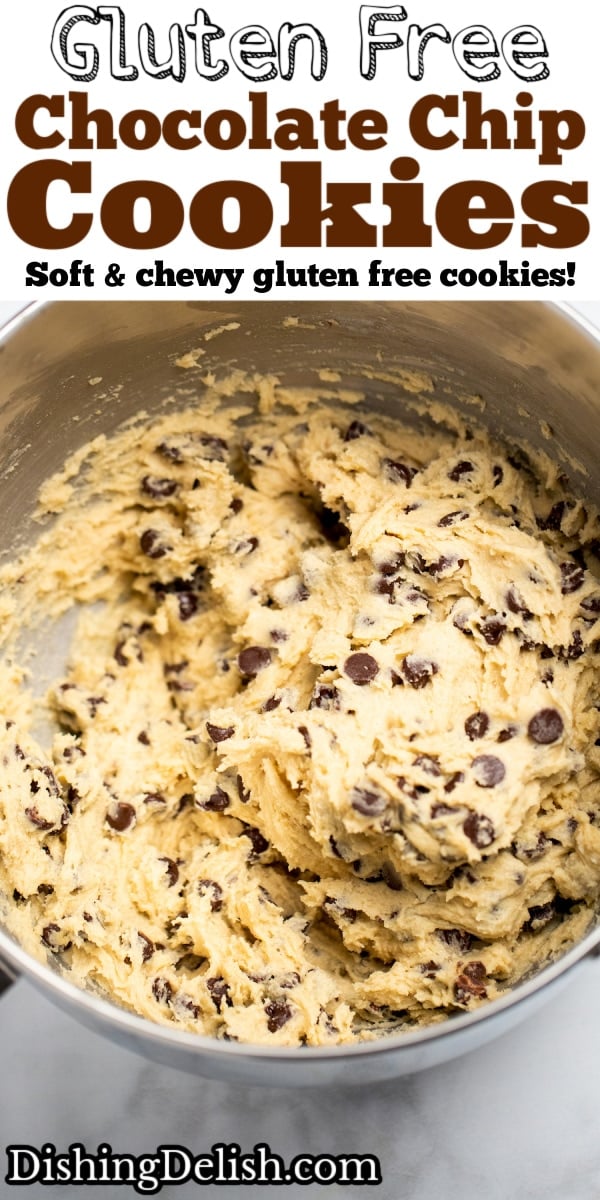
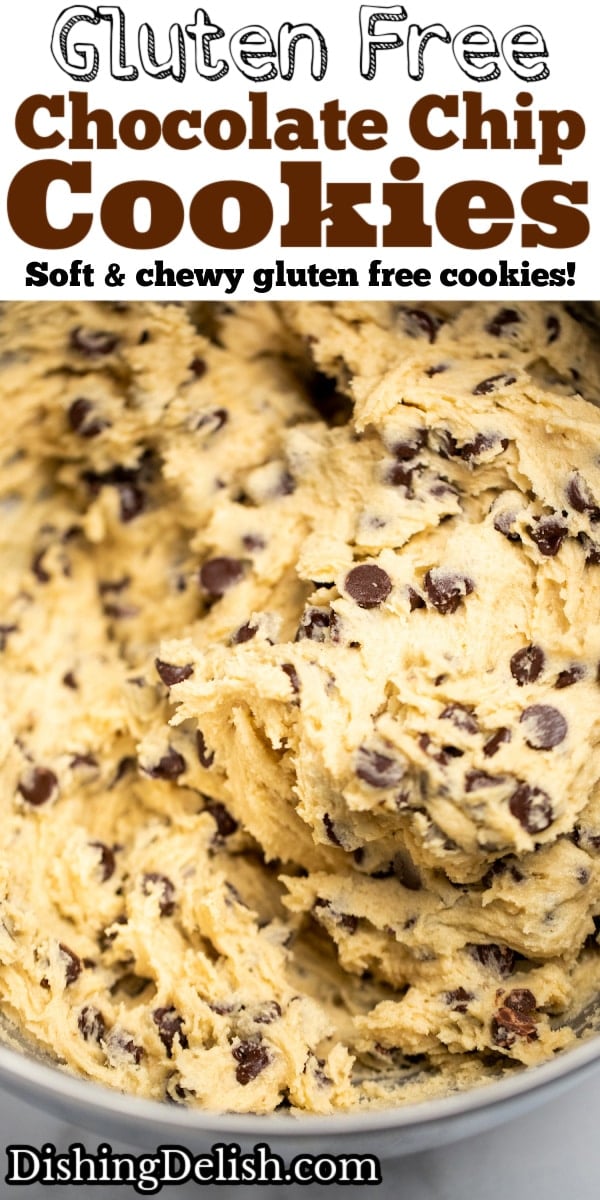
Semi-Sweet Chocolate Chips. You can use your favorite type of chocolate chips here, or cut up chocolate chunks from a larger piece of chocolate. Just make sure the brand you pick is gluten free. My personal preference is dark chocolate.
Sugar. I find a mix of brown sugar and white granulated sugar tastes the best. You can use all white sugar if that’s what you have.
Brown sugar also has more moisture, helping the cookies turn out chewy instead of crispy.
Eggs. Eggs help bind everything together.
Butter and Shortening. The butter adds a lot of flavor, but also plays a big role in the texture of the cookies. If your cookie dough is too warm when you cook it, the cookies will drop down flatter because the butter melts faster. I always refrigerate the dough before scooping for this reason.
I also use unsalted butter, so I can control the amount of salt that ends up in the final recipe.
Adding some shortening in place of the butter helps keep the cookies soft and chewy, while the combo of shortening and butter still lets the butter add flavor while the shortening helps with texture.
Vanilla Extract. Vanilla adds flavor. You can swap this with almond extract, peppermint extract, or whatever flavor combination you want to try with chocolate chip cookies.
Baking Soda and Baking Powder. This helps the cookies rise and have a soft chewy texture. You can read more about the science of baking powder and baking soda in cookies here. But these cookies don’t contain gluten, so keep that in mind.
Salt. Salt adds some flavor to the cookies and balances out the sweetness.
How to Make Gluten Free Chocolate Chip Cookies
Would you like to save this recipe?
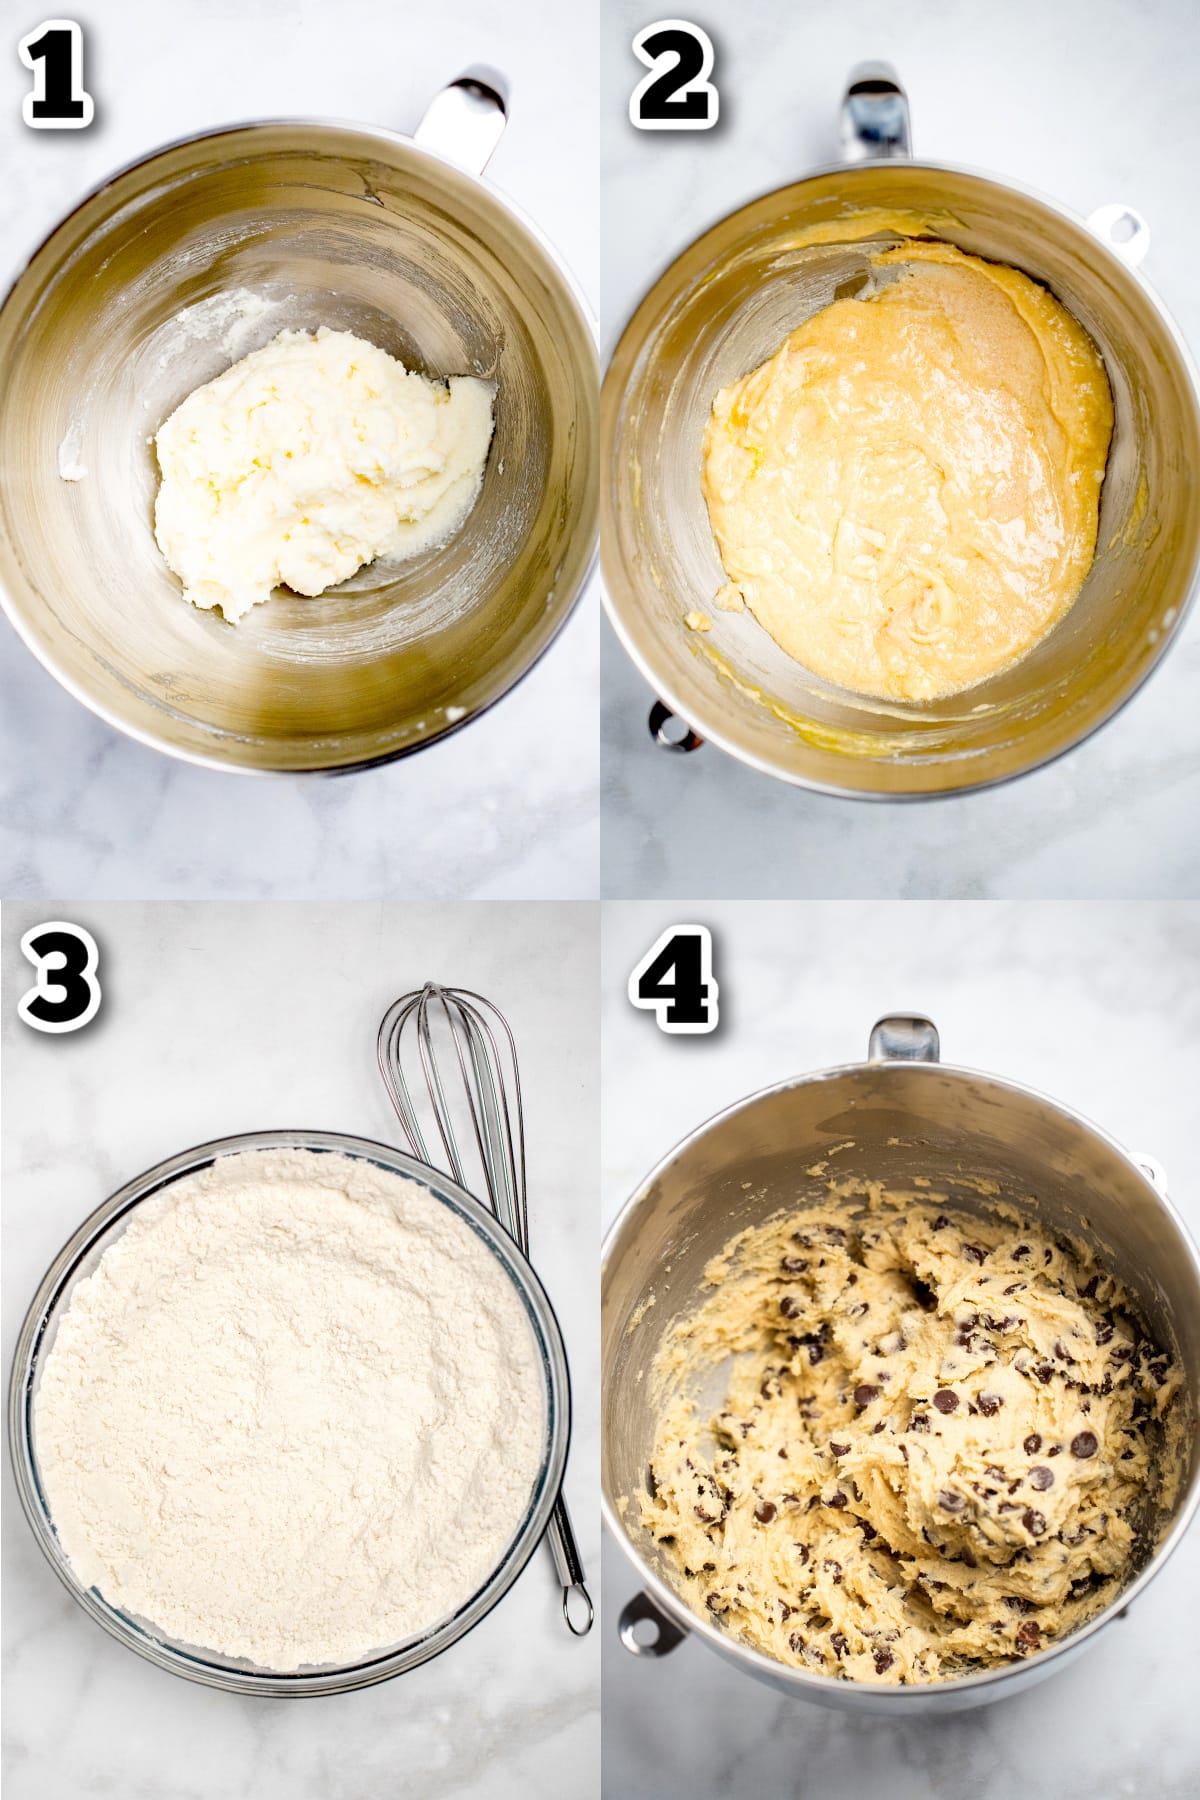
- Preheat oven to 350°F. In a stand mixer or with an electric hand mixer, cream together butter, shortening, and white sugar. Mix in the brown sugar and vanilla extract, then add eggs one at a time, only beating until eggs are just mixed in.
- In a separate medium bowl, whisk together dry ingredients.
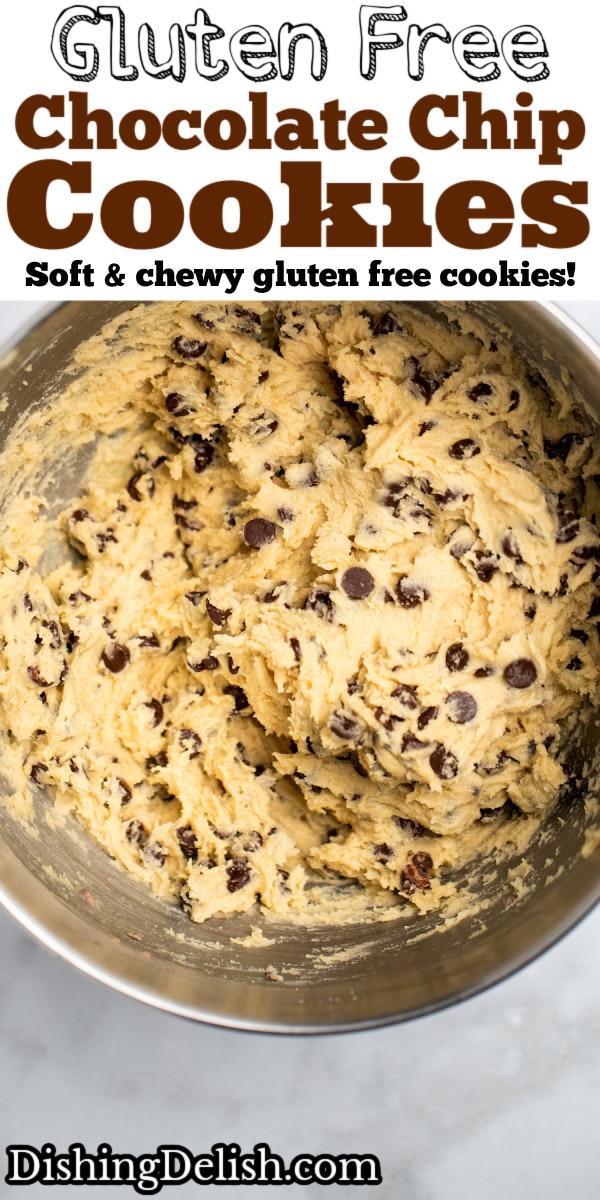
- While the mixer is turned on low, slowly add flour mixture to the wet ingredients, until all flour is added and dough is completely mixed together. Fold in chocolate chips. Cover the bowl and refrigerate at least 30 minutes, giving the butter in the dough a chance to get cold.
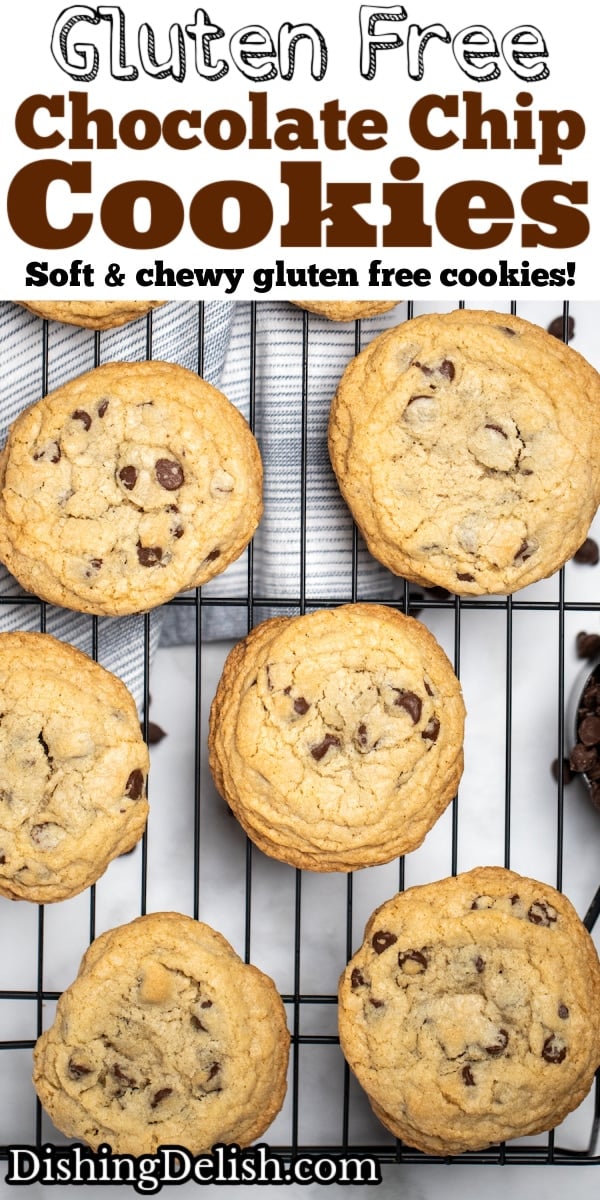
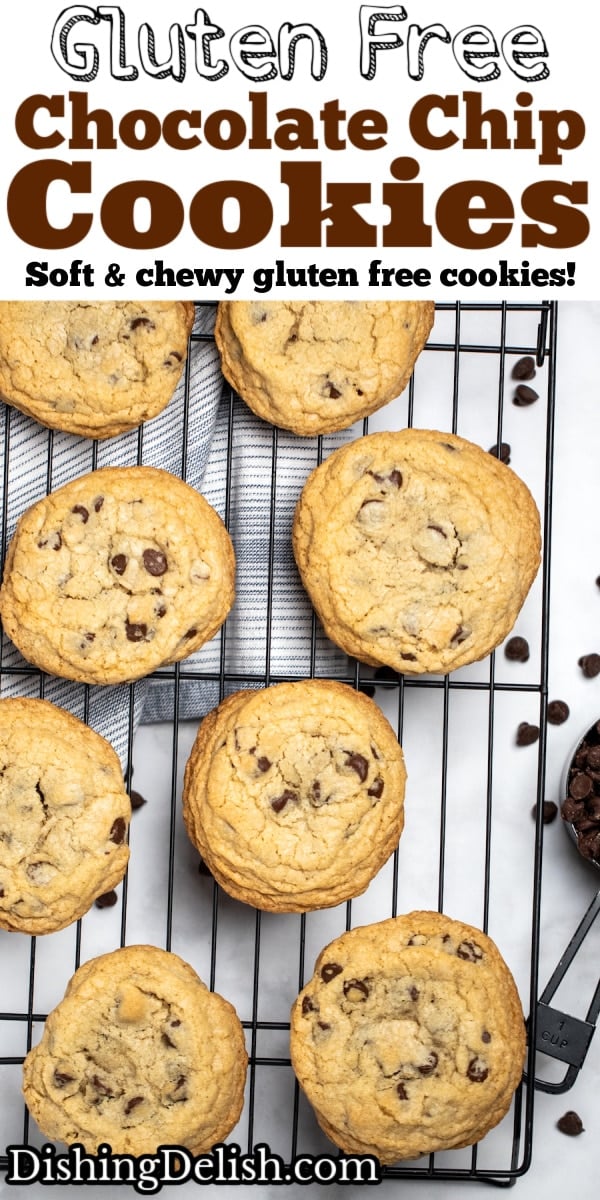
- Scoop 1-2 inch balls and place onto prepared baking sheets. Leave a few inches of space between each ball. Bake for 8-10 minutes, or until cookies are beginning to turn golden brown around the edges.
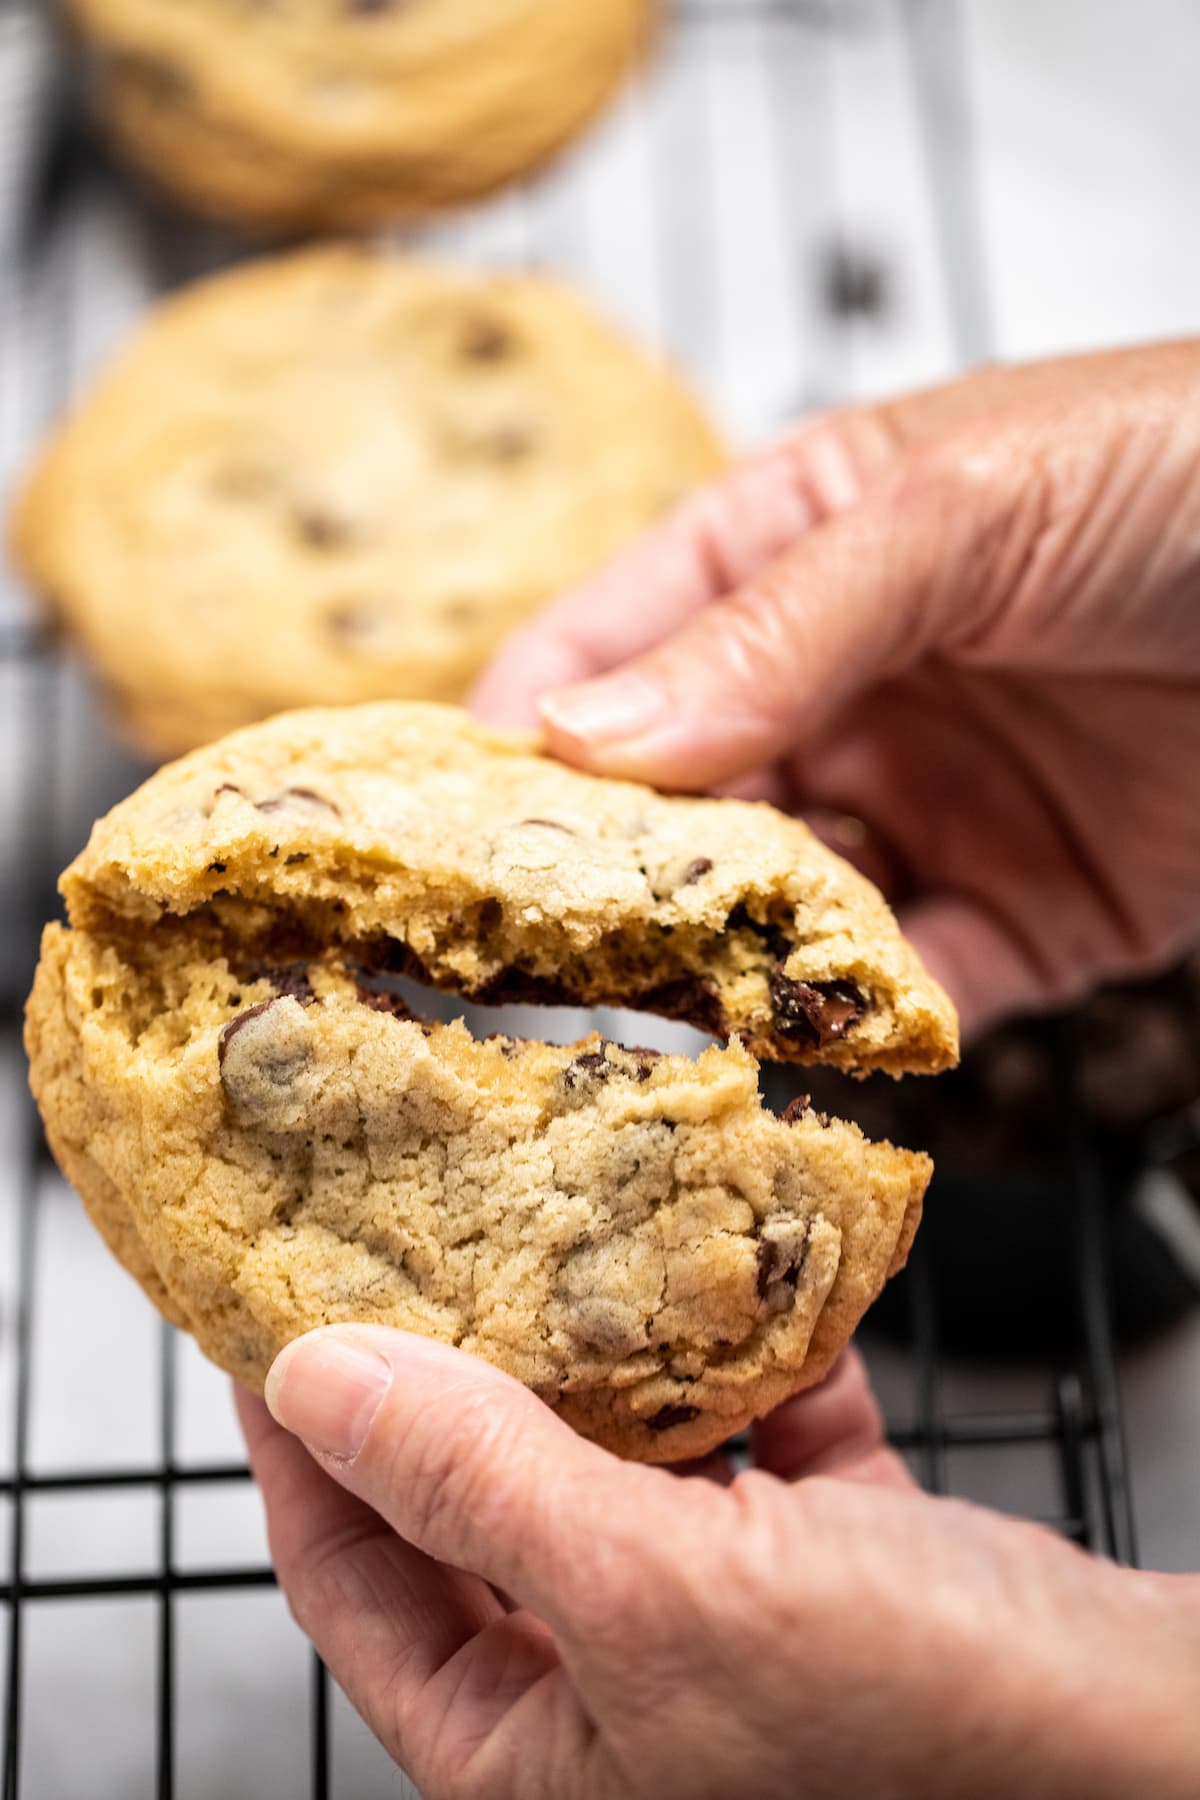
Jacqui’s Tip! You want the edges of the cookies to just start turning golden brown, and the top to be somewhat firm and not raw. If you cook for longer than this, you’ll end up with crispy edges and less chewy cookies!
How to Make These Vegan or Diary Free
You can easily translate this gluten free chocolate chip cookies recipe into vegan or dairy free chocolate chip cookies with a few easy substitutions!
- Substitute the 2 eggs for 1/2 cup applesauce.
- Substitute the butter for equal amounts of vegetable oil shortening or vegan butter.
- Make sure to buy vegan chocolate chips (check the allergen friendly ones as they most likely won’t have dairy).
- Make sure the brand of sugar is processed with vegan standards.
Frequently Asked Questions
There’s a few ways to keep gluten free cookies moist.
Don’t skip the fat. The fat is a really important part of adding moisture to the cookies to achieve the chewy texture. Don’t skip the butter/shortening/egg yolks. Also using a combo of brown and white sugar, because the brown sugar adds some moisture.
Cooking temperature. If your cookies are consistently dry or have intense crisp edges, use a thermometer to check your oven temperature. Ovens cooking off the set temperature is a really common problem. Also make sure your baking sheets are cool when you make the second batch.
Time. Watch your time closely, and when the edges turn golden brown the cookies are probably done. Don’t over-bake.
Altitude. The altitude you live in can definitely affect any baking recipe you try. Here’s a really great guide from King Arthur on how to alter any recipe if you live in a higher altitude mountain region.
Measuring. Use a butter knife to level off your measuring cups, because having the wrong amount of flour or leavening can alter the recipe enough to change the cookie texture.
Usually, gluten free cookies spread because the dough is too warm. Refrigerate the dough for minimum 30 minutes before baking, so the butter has a chance to get cold.
Gluten free cookies can dry out for a few reasons. Here are the most common.
Baking time. If the baking time was too long, the cookies will over-bake and become crispy and dry.
Measuring. If there’s too much flour (or dry ingredients) added to the cookie dough, the cookies will be dry from lack of moisture.
Heat. If the temperature of the oven is too high, too much moisture will evaporate and the cookies will be dry.
Jacqui’s Tip! Use good baking sheets. Your baking sheet can make all of the difference between your cookies coming out golden brown with chewy centers, or burning on the bottom. Or not cooking all the way through on the top. Invest in a nice set of baking sheets, which should only run you less than $15, depending on the brand.
Storage
Let the gluten free chocolate chip cookies cool completely. Store in an airtight container at room temperature for 1-2 weeks. Or in the refrigerator for up to 2 months.
Freeze this homemade gluten free chocolate chip cookie recipe in an airtight container for about 8 months. Use a piece of parchment paper between each layer of cookies to prevent them from sticking.
You can also freeze the balls of dough. Scoop them out onto a cookie sheet and place in the freezer. Once frozen, transfer the frozen cookie dough balls from the cookie sheet to an airtight container and place them back in the freezer.
To reheat, you can place them directly onto a baking sheet and cook. Baking time may increase to 10-12 minutes because they are frozen.
Check out the USDA’s recommendation on homemade cookies here.
Jacqui’s Tip! The altitude you live in can definitely affect any baking recipe you try. Here’s a really great guide from King Arthur on how to alter any recipe if you live in a higher altitude mountain region.
More Gluten Free Cookie Recipes
- White Chocolate Macadamia Nut Cookies
- Easy Peanut Butter Cookies (Flourless)
- Flourless Oatmeal Cookies
- Nutella Chocolate Chip Cookies
Cooking Tips
- Use a mix of butter and shortening. If you have a recipe that calls for all butter and the cookies are coming out too flat, try taking half of the butter in the recipe and substituting in shortening. Butter melts much faster than shortening, causing your cookies to flatten out while they’re baking. Shortening, on the other hand, melts much slower, giving your cookies a chewy center.
- Check your oven temperature. This is another critical step if your cookies are burning on the bottom too quickly. Temperature is a key element in any cookie process. Use an oven thermometer to check and see if the temperature is what it should be, and adjust up or down accordingly.
- If you’re making cookies that drop, use an ice cream scoop. This will save you SO much time. You can buy them in many different sizes, but make sure you get the kind with a release button on the side to get the dough out.
- Refrigerate the dough. If you refrigerate the dough for at least a half hour before scooping it onto the baking sheet, you’ll give the butter a chance to get colder, thus making the cookies drop more slowly. This will help them flatten less and get nice and chewy in the center.
- Get a paddle attachment for your stand mixer. Seriously it’s a game changer, you won’t have to scrape the sides of the bowl anymore!
- Save some extra chocolate chips! Place them decoratively on top of the cookies before baking to make sure the baked cookies look really nice when coming out of the oven.
Tried this recipe? ⭐ Leave a review and share what worked best for you—your tips help other home cooks get the same delicious results!
Gluten Free Chocolate Chip Cookies
Equipment
- 1 large baking sheet
- 1 Stand mixer or electric hand mixer
Ingredients
- 1/2 cup unsalted butter, softened
- 1/2 cup shortening
- 1 cup white sugar
- 3/4 cup brown sugar
- 2 large eggs
- 1 tablespoon vanilla extract
- 2 1/4 cups gluten free all-purpose flour, cup for cup
- 1 teaspoon baking soda
- 1 teaspoon baking powder, double acting, gluten free
- 1/2 teaspoon salt
- 2 cups chocolate chips, gluten free
Instructions
- Preheat oven to 350°F. Line a baking sheet with parchment paper and set aside.
- Cream together butter, shortening, and white sugar. Add brown sugar and vanilla extract until well combined. Add eggs one at a time, only beating until eggs are just mixed in.
- In a separate bowl, whisk together dry ingredients. Mixing at medium-low speed, slowly add flour mixture to butter, until all flour is added and dough is just mixed together. Fold in chocolate chips.
- Cover bowl and refrigerate at least 30 minutes.
- Once cold, scoop dough into 1-2 inch balls and place on baking sheet. Leave a few inches of space between each ball. Bake for 8-10 minutes, or until cookies are beginning to turn golden brown around the edges.
Notes
- How many cookies this makes depends on the size of your cookies. Use an ice cream scoop to make scooping the dough easier and the cookie size more uniform. You can buy scoops in different sizes, but make sure you get the kind with a release button on the side to get the dough out.
- Use a mix of butter and shortening. Butter melts much faster than shortening, causing your cookies to flatten out while they’re baking. Shortening melts much slower, giving the cookies a chewy texture
- Check your oven temperature. If your cookies are burning on the bottom too quickly, use an oven thermometer to check and see if the temperature is what it should be, and adjust up or down accordingly.
- Refrigerate the dough. If you refrigerate the dough for at least a half hour before scooping it onto the baking sheet, you’ll give the butter a chance to get colder, thus making the cookies drop more slowly. This will help them flatten less and get nice and chewy in the center.
- Get a paddle attachment for your stand mixer. Seriously it’s a game changer, you won’t have to scrape the sides of the bowl anymore!
- Use good baking sheets. Invest in a nice set of baking sheets. A good set will conduct heat more efficiently, so the cookies won’t burn on the bottom.
Nutrition
Would you like to save this recipe?
We are a participant in both the RewardStyle and Amazon Services LLC Associates Program, which are affiliate advertising programs designed to provide a means for sites to earn advertising fees by advertising and linking to amazon.com and through RewardStyle.


These cookies were incredibly good! Totally satisfied my chocolate craving!
Thanks! I’m so glad you liked them!
What brand of all purpose gluten free flour are you using?
I am using Bob’s Red Mill GF All Purpose Flour 🙂
No one can believe that these are gluten-free!
Thanks for the recipe. I love finding delicious gluten free recipes.
Hi, why is the first step in the instructions to preheat oven if the mixture has to go to the fridge for 30min?